Hi everyone! Our beloved Battle Teams has released a new level for Single Player in Adventure Mode – “Mameluke”, commonly known as “Desert”.
Most players will have gained some impression of this new map level since it came online. Today I’m going to share my two cents. No hate please if you don’t agree!
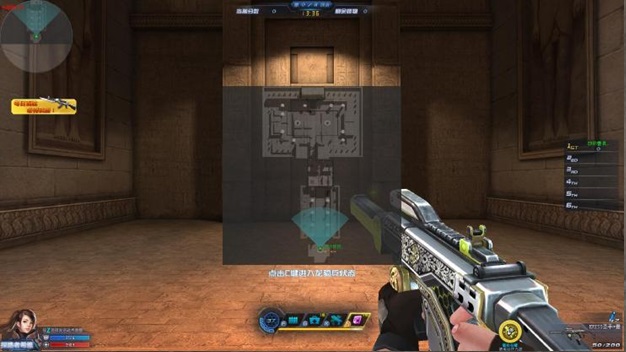
Desert is roughly divided into four stages. The first stage is the initial spawn point (friendly reminder: make sure you go through the correct door when you’re passing on to the next stage; the doors at the front and rear look very similar). See image below. The second stage is a long corridor. The third is a puzzle area, which will take up the bulk of your time overall on this level. The fourth stage is the boss battle.

Desert is a little different to other maps. Normally, players have to break the protective shield to pass through to the next stage. On Desert, you simply enter the highlighted area and you’ll advance automatically.
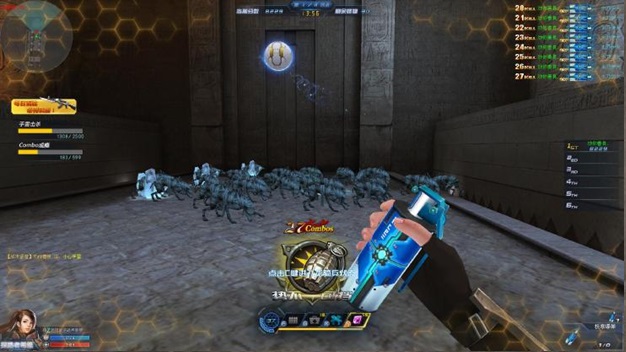
Mad Dog Attack
The reason this stage is often called Mad Dog Attack is it contains 240 fierce dogs that are out for your blood! Each new wave of monsters comprises 30 more monstrous canines for your pleasure!
I recommend you carry a freeze or stun grenade to avoid getting totally overwhelmed. While the dogs are immobilised you can take them out with your other weapons.
Clear them up. After a few waves you’ll be past the first stage!
There are trenches on either side of the corridor here. If you fall in, it’s instant death for you. Monsters also die if they fall in (see below).

As with the first stage, you pass on to the next stage automatically when you reach the end of the corridor.
Escape Room
Recommended weapons: any machine gun with life leech, a Golden weapon or a Grace Of Saints submachine gun (right click to activate the healing matrix).
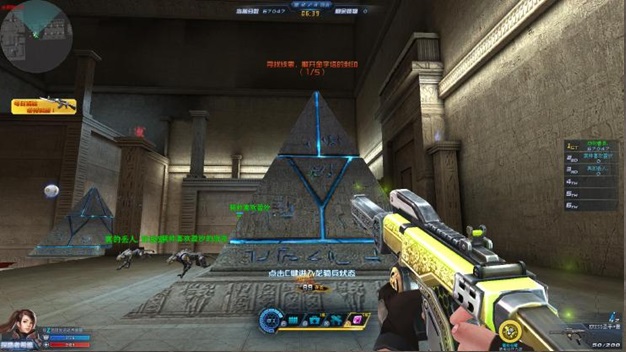
This stage is a puzzle area! It’s also the most time-consuming stage. There are 4 floors of puzzles to complete. After you complete each puzzle, the pyramid in the middle will open allowing you to pass to the next floor. Press ‘E’ at the base of the column to operate the puzzle. The lamp turning blue, indicated in the image below, shows the puzzle has been completed.
When 4 lamps have turned blue, the pathway to the next floor will open automatically. If you lose HP while operating the puzzle, that means you’ve entered the sequence wrong and need to start again. The sequence is random each time, meaning there is in fact no fixed sequence to begin with.

As you progress through the floors, the columns get longer and longer.
Below is a summary of the HP penalties incurred on each floor (for each unsuccessful sequence):
First Floor: 1000
Second Floor: 1500
Third Floor: 2000
Fourth Floor: 2500
Fifth Floor: 3000
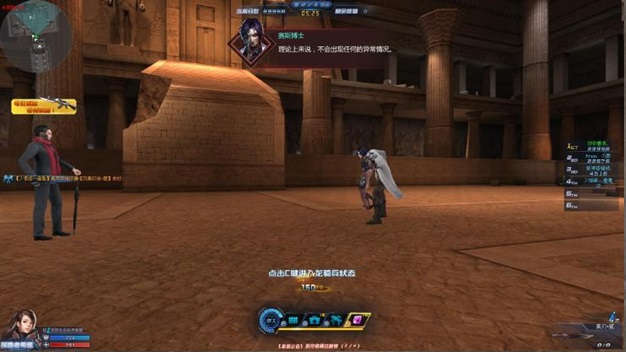
Boss Stage
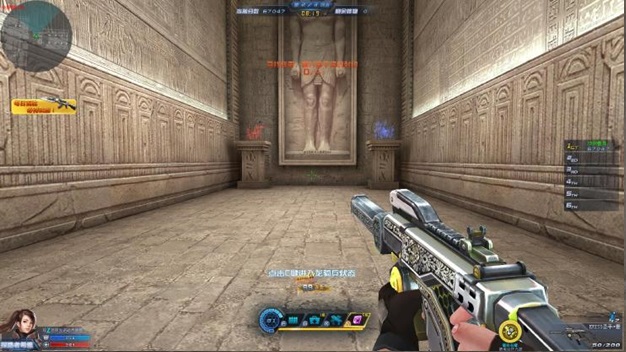
After completing the puzzle on the fifth floor, the pyramid will not open. Break the energy net (at the top of the map, above the stairs) to initiate the cutscene pictured below (the timer does not stop during the cutscene). After the cutscene finishes, the boss battle begins!
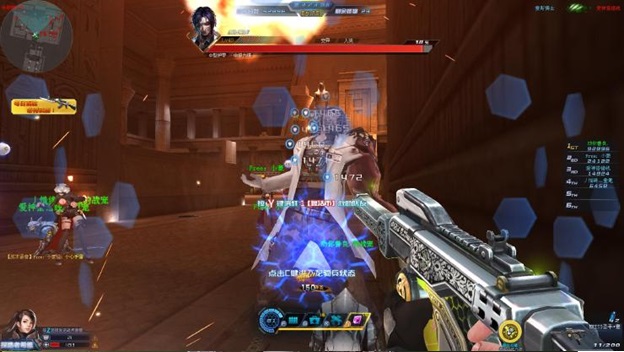
The boss carries Reaper’s Gloom. His shields block 100% damage.

Recommended weapons: Night Demon (Press ‘E’ to increase rate of fire 50%), Grace Of Saints (Dragon Spirit) or an augmented Bone weapon (3-star or higher).
Dr Seth, the boss, constantly throws his Reaper’s Gloom at the player. This is a real test of your positioning abilities. Position yourself carefully to avoid the explosive damage caused by Reaper’s Gloom! I personally recommend you avoid getting entangled with his minions period. There are simply too many of them to deal with and they’re not worth the bullets you expend on them. If you get surrounded by minions, you’ll run out of ammo quickly and be summarily defeated. They even have special abilities to make your life that bit harder. Instead, keep your distance from the minions and keep your sights trained on the boss’s head where you’re more likely to deal damage. When the boss dies his minions automatically die with him. See image below:
COPYRIGHT©1998 - 2020 Wizard Games International Technology Co., Limited. ALL RIGHTS RESERVED