Demolition on Desert II is a staple of Battle Teams gameplay and it’s renowned as a scenario that favors campers. You probably all know what camping is so I won’t bother explaining here (Google it if you need). Here I’ll share with you what I’ve learned as a camper in Battle Teams. If you don’t like it, tough luck.
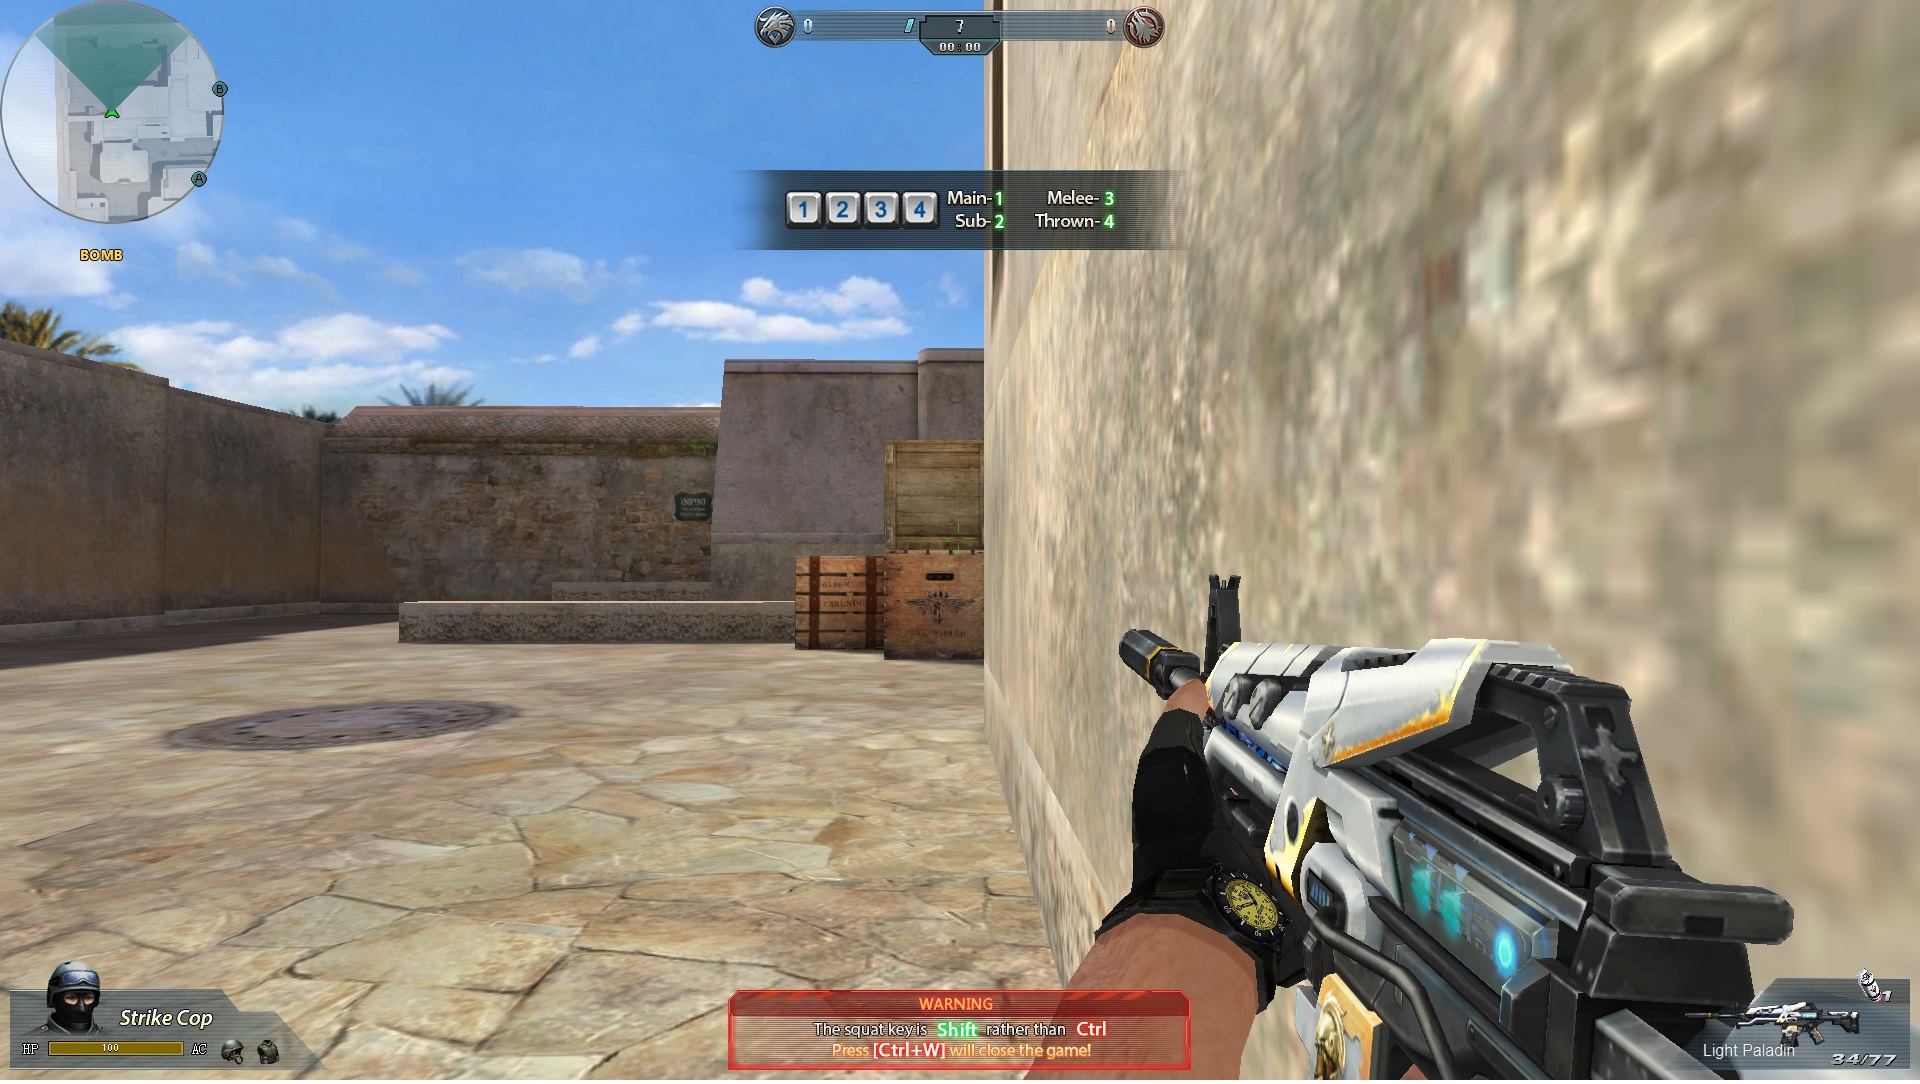
Let’s get to it! Before we go any further, I want to take the opportunity to pressure you into using headphones. You need them to help you detect players’ locations. The image below is the Platform A sticker wall. This is an awesome spot for camping out bullet fodder that stray up the pathway! Stick close to the wall when you hear them coming (most players won’t find you because they won’t bother to search the platform – they’ll take a quick glance and then walk straight on up into your crosshairs).

This one’s another prime lurking spot. At the start of the round, rush to this location and be the first to claim it. Keep silent and most enemies won’t stop to search their surroundings. When you see an enemy going up the stairs you can stab them in the back.
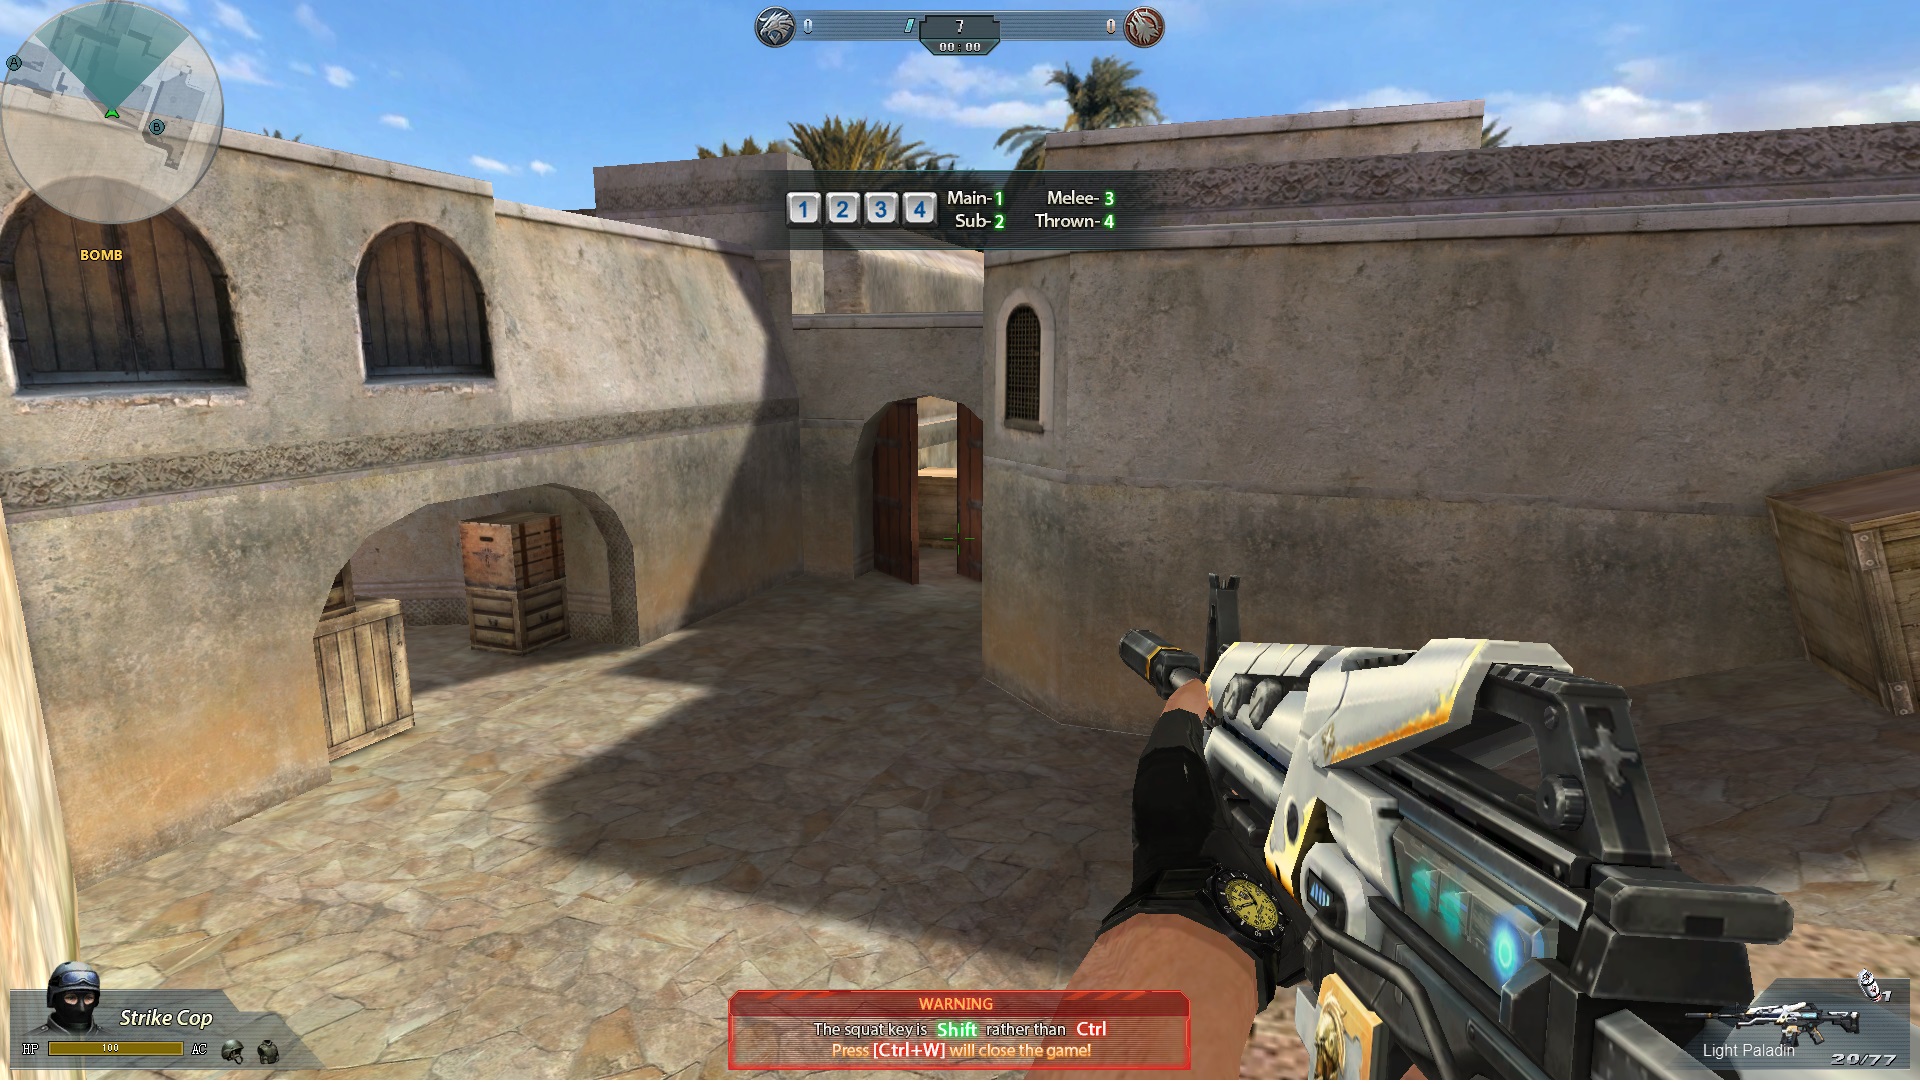
Slope A below gives you plenty of warning of any advancing enemies. From behind here you can listen out for enemies and take them out silently as they go up to the platform or position themselves.
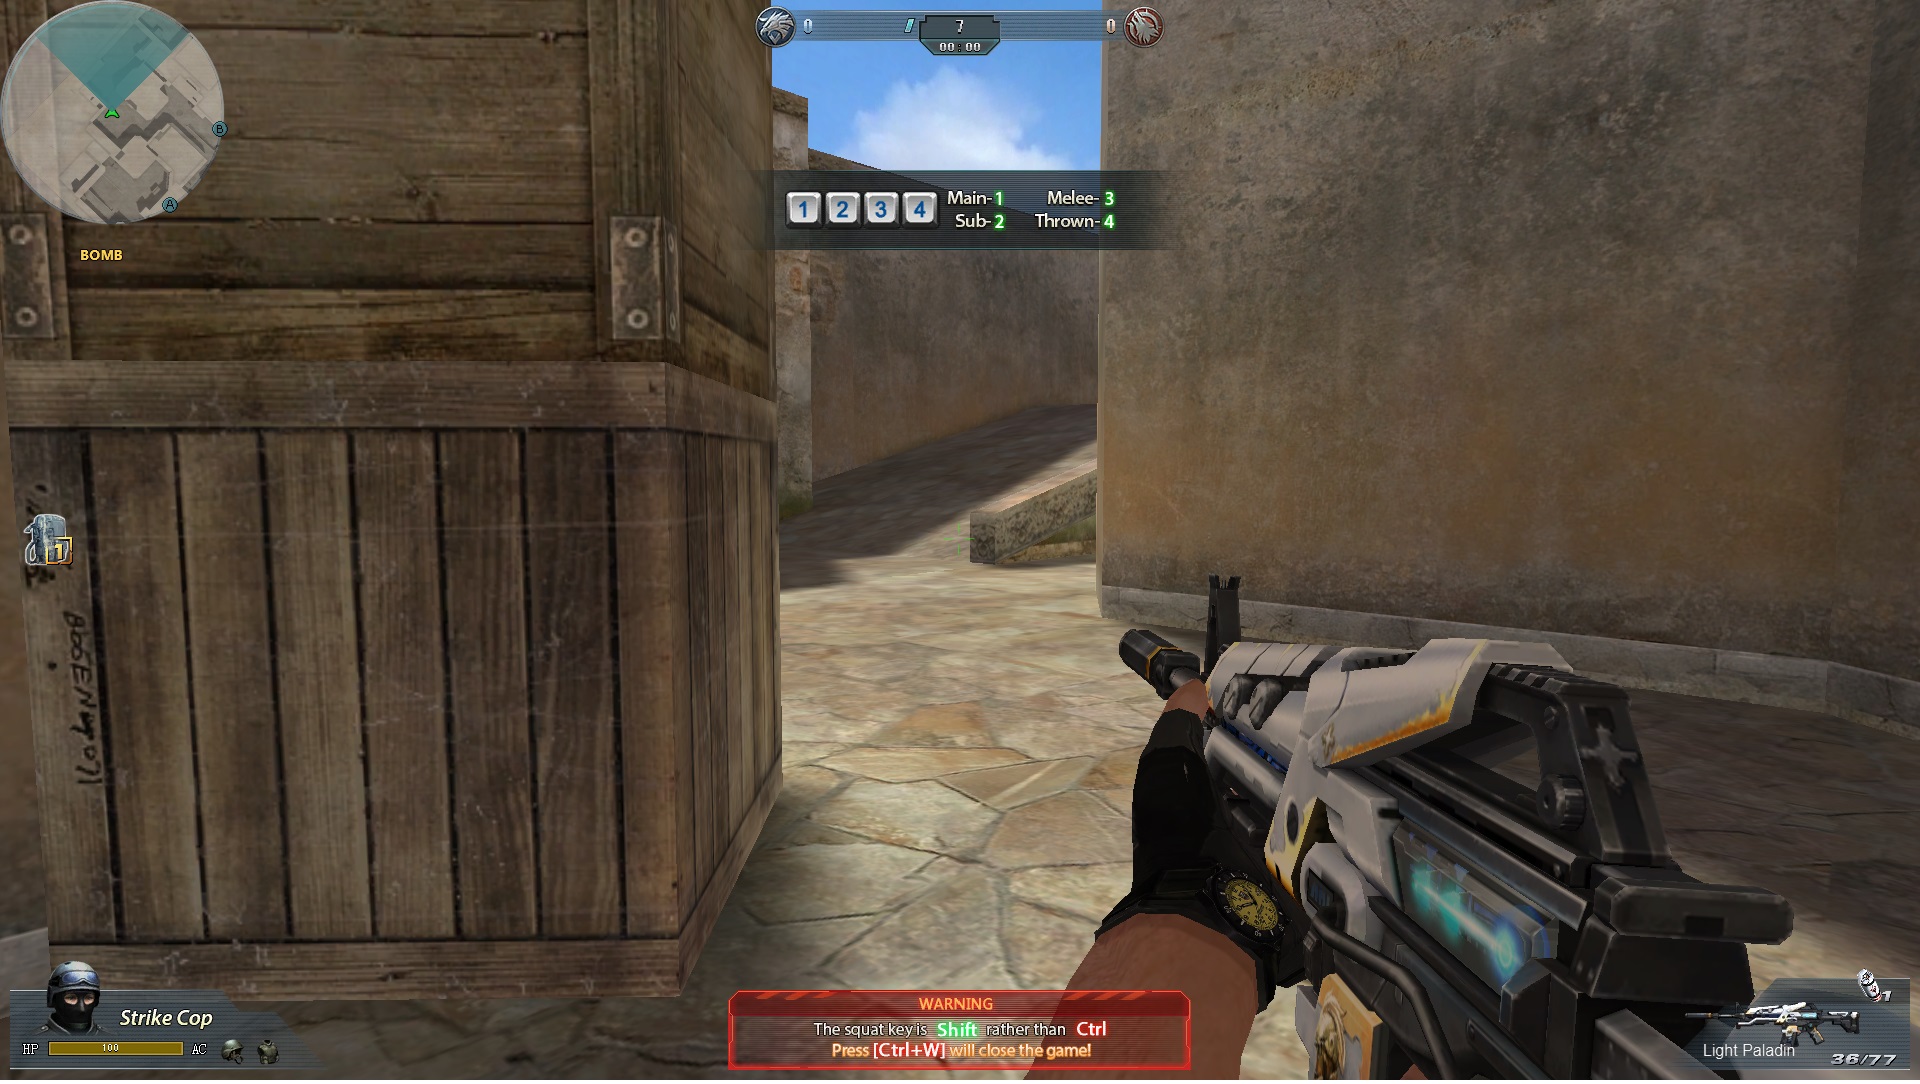
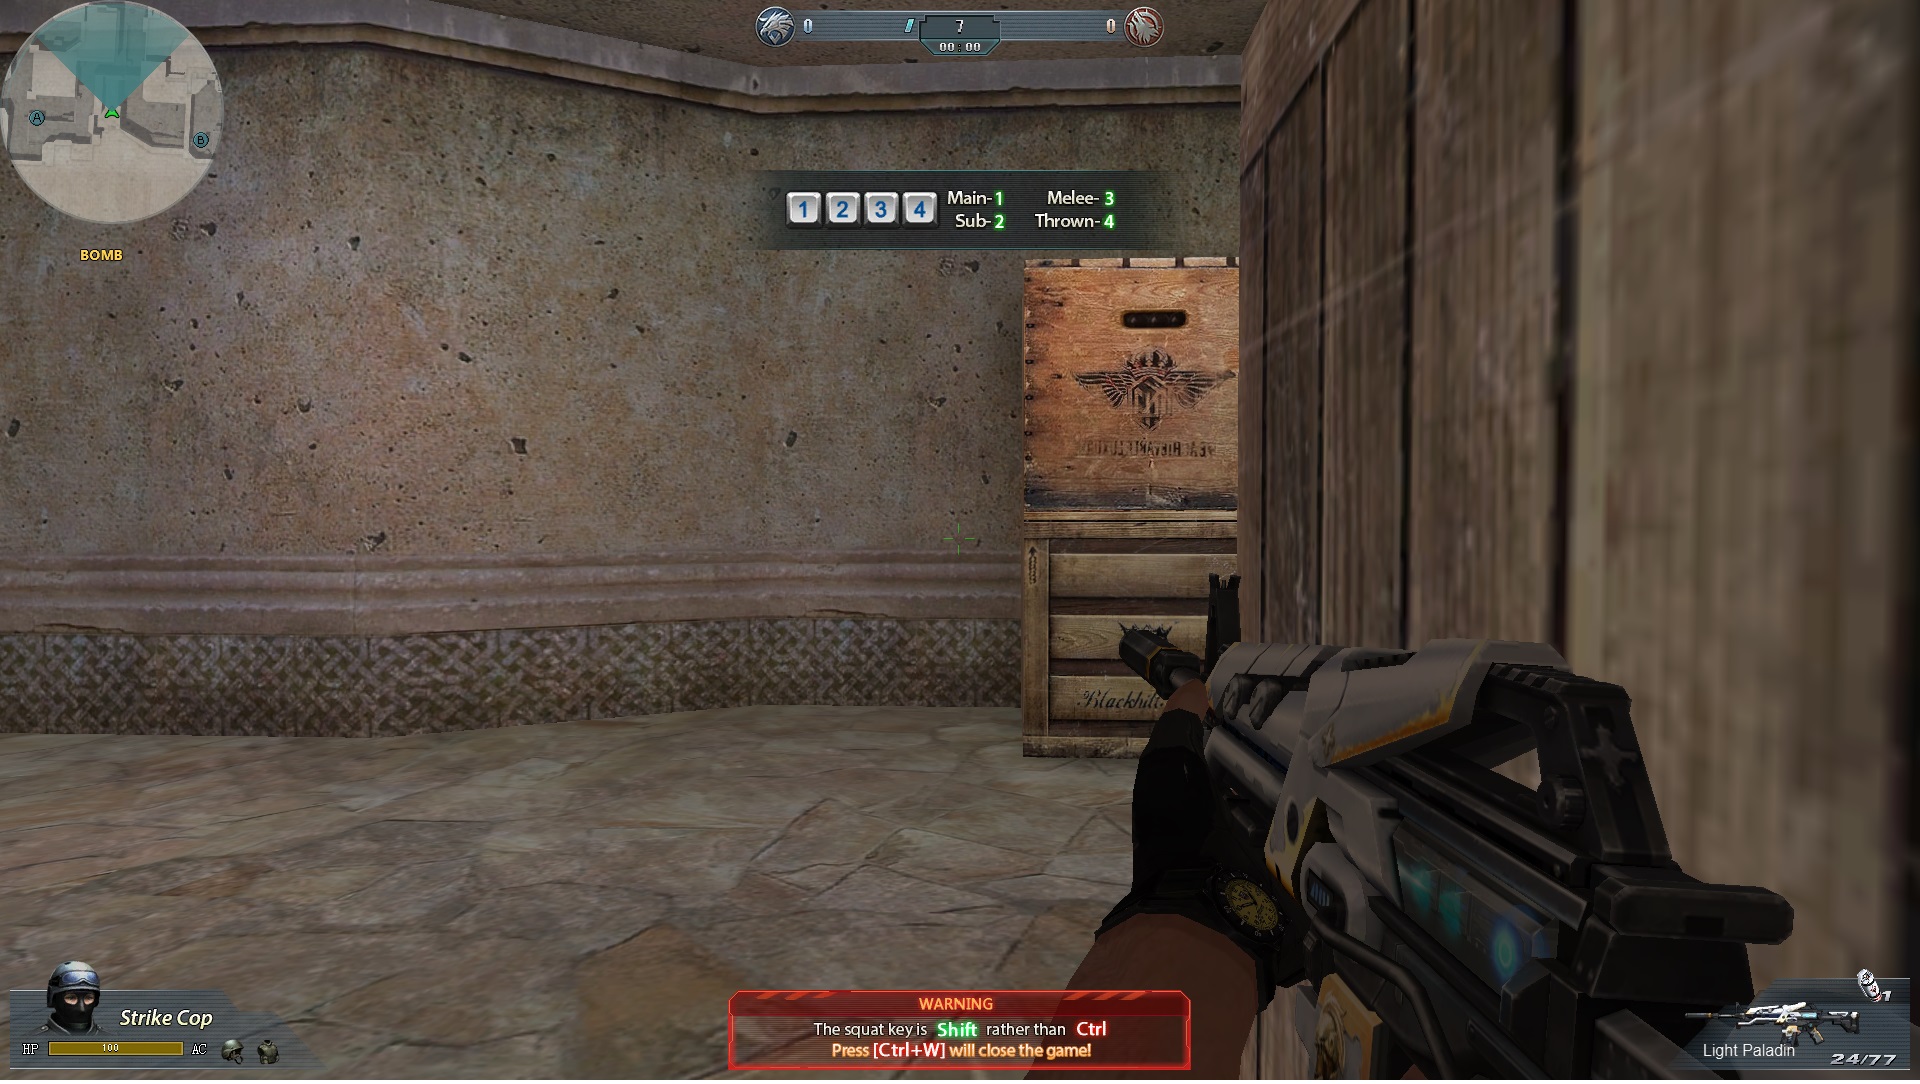
The image below is a box located behind the slope at Position A. Take up position here when you’re outnumbered. You can hear enemies up on the platform and anybody who might be approaching you. It works perfectly – the only possible room for error is your strength of hearing. The safest location is always in the midst of the danger and you can use this spot to take your enemies by surprise.
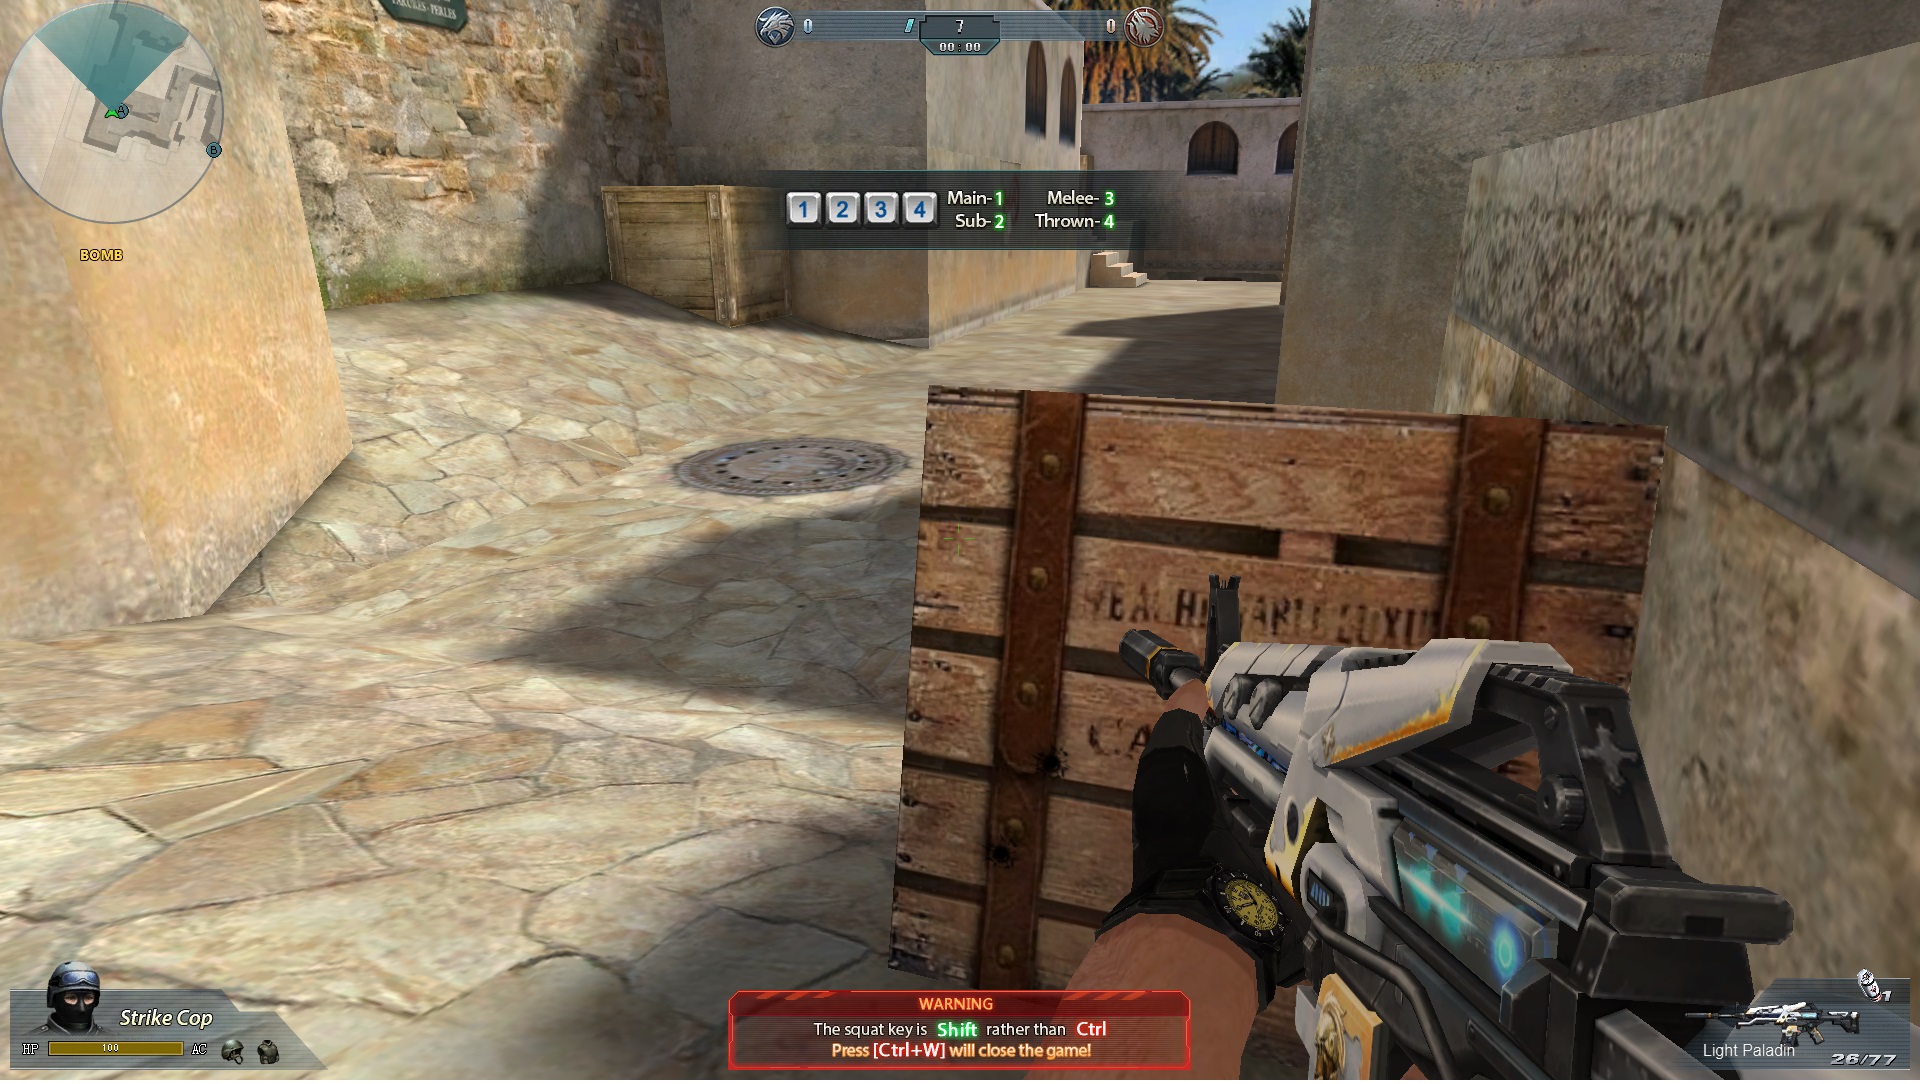
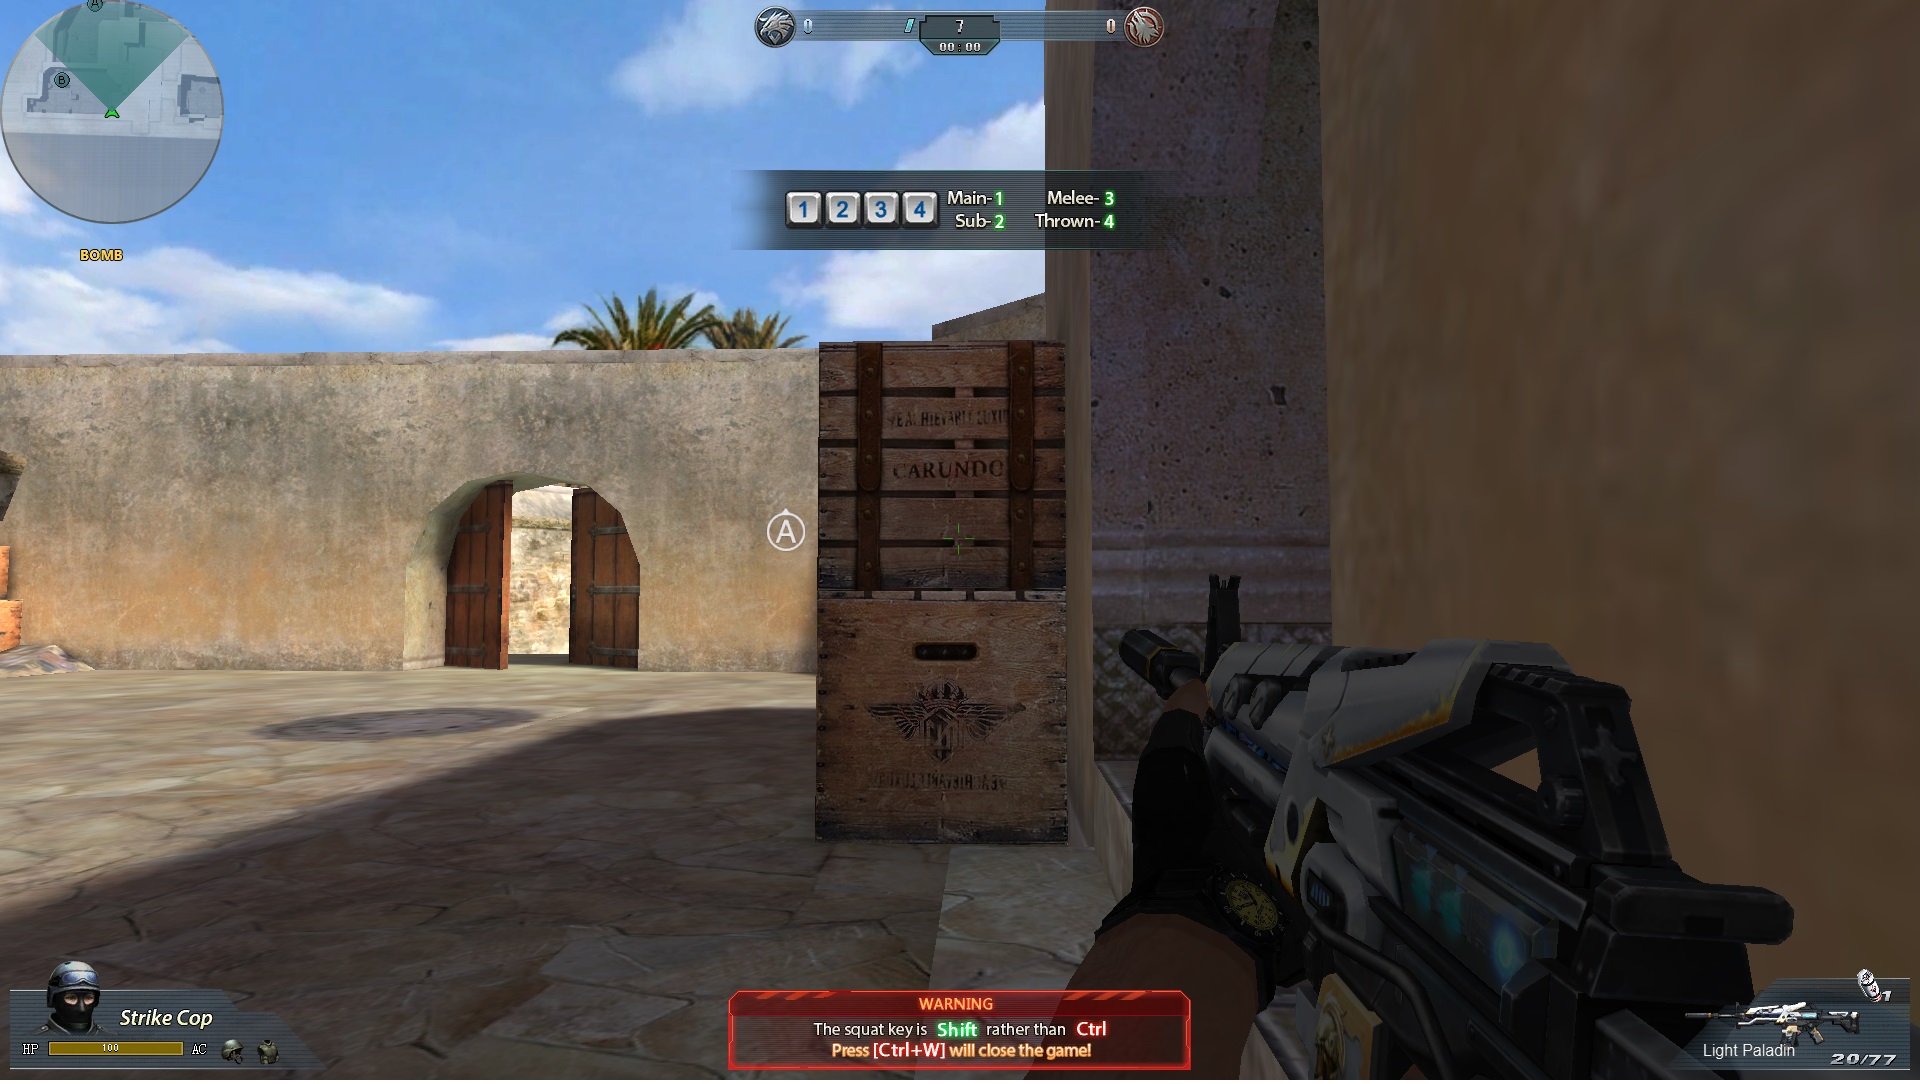
This box provides a time-tested hiding place to camp out enemies coming through the door (Door A) (normally players will only look straight ahead when they come through Door A. You know what I’m saying.)

Below is a covered area on the ground floor (Room B) that makes a great camping spot. Rush in and claim it as quickly as you can (note: your spawn point is very close to the central door, meaning you should be able to get to the camping spot before your enemies).
Below is Door Camp B. Nothing more to say here.
Below is the green box behind Position B. Crouch behind the box and listen out for enemies coming from Cave B or outside Position B. You can move pretty freely around this location if you need to dodge any incoming fire (I often hide here, cede C4 and then jump the enemy with my melee weapon, taking their hard-won position. Delightfully devilish!

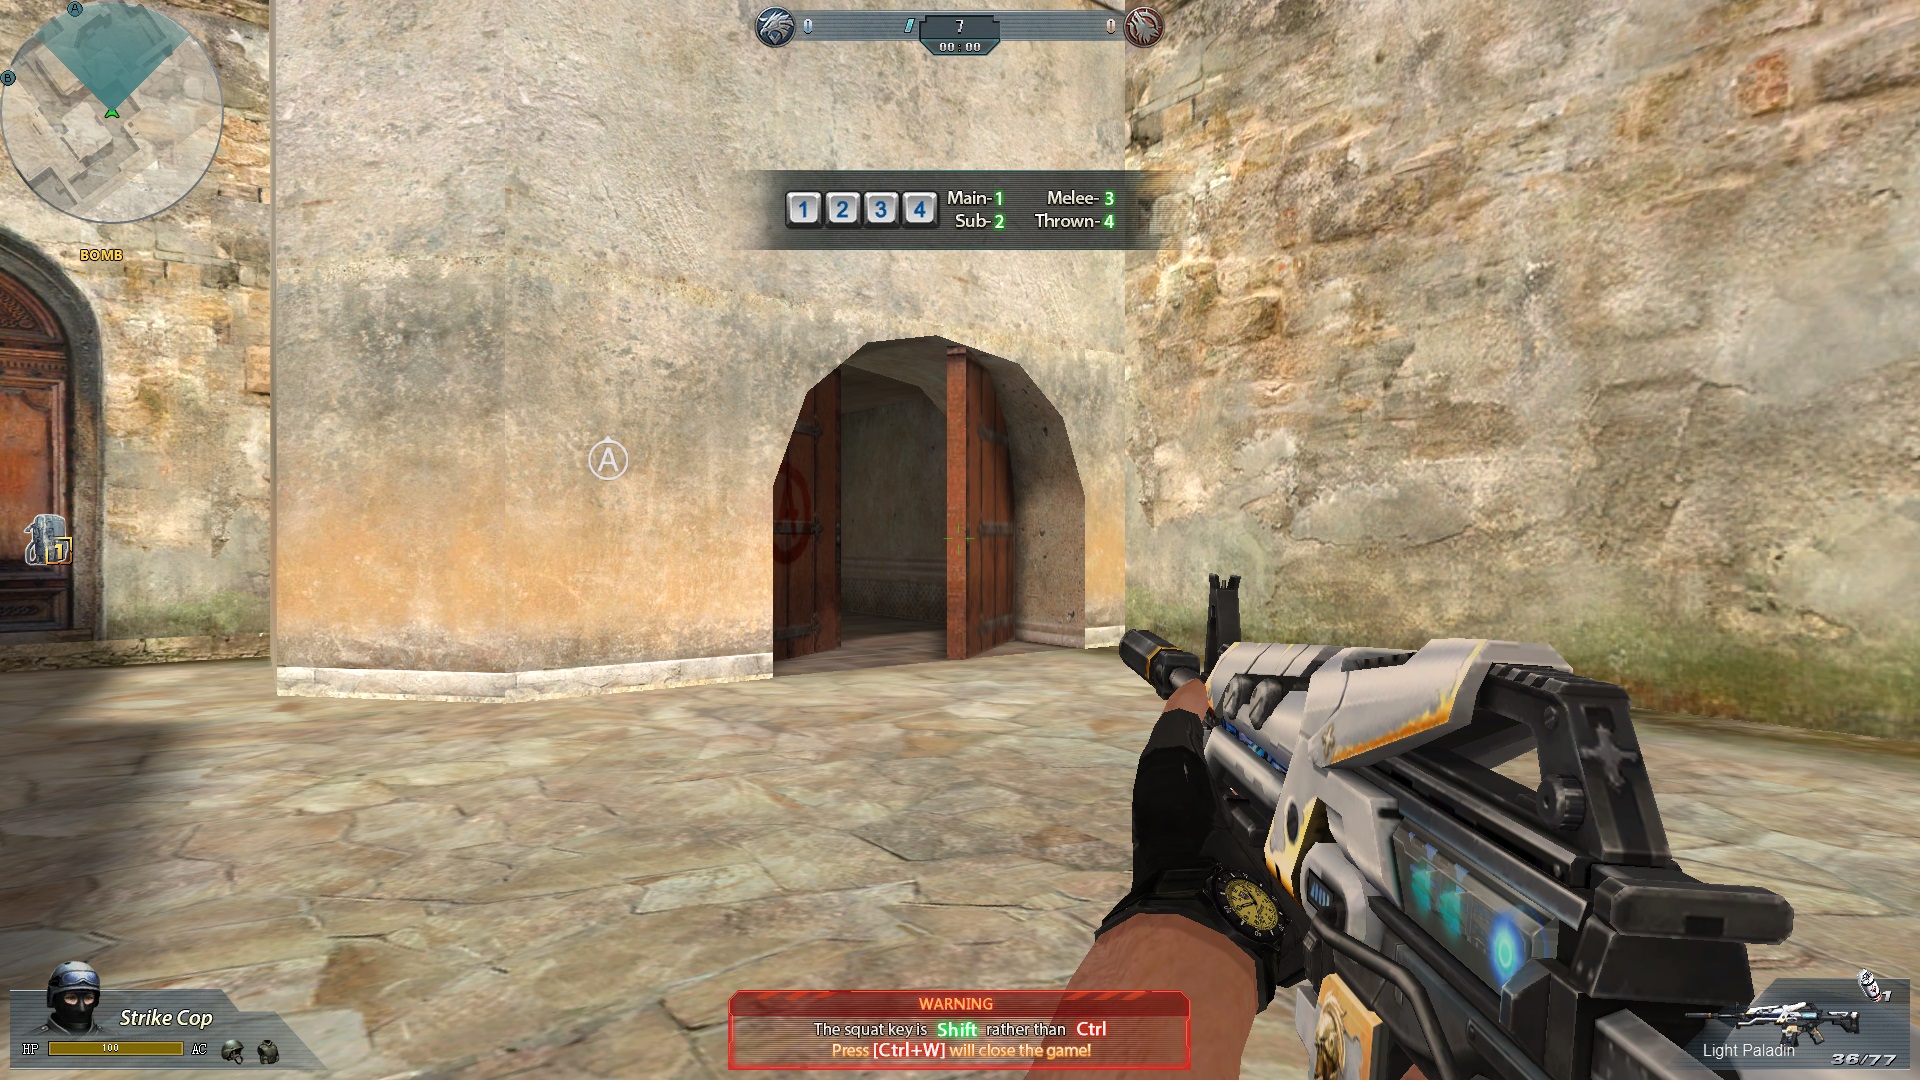
Below is the blind spot behind the central door. Enemies coming through will miss your hiding spot at first glance (some look to the right instinctively), making it a prime camping location.
This final image is a spot I really like. A blind spot right by the enemy spawn. You can pick off 3 or 4 enemies without raising the alarm.
There are plenty more common camping spots on top of the ones listed above, which I won’t go in to. It’s all fun and games! If you don’t like that, hard cheese. Thanks!
COPYRIGHT©1998 - 2020 Wizard Games International Technology Co., Limited. ALL RIGHTS RESERVED